This probably sounds familiar: an email arrives with an important attachment, and you plan to save it later. Days go by, and when you need the file, you end up searching your inbox and old emails, unsure where it went.
Saving files manually leads to three common problems: files get lost, different versions end up in different places, and you spend extra effort trying to remember where everything is stored.
Automation solves these issues. When attachments are automatically saved to OneDrive, you always know where to find them. Your inbox is for messages, not file storage, and you no longer have to remember small, repetitive tasks. With Power Automate and OneDrive, you can automatically save email attachments to a single, organised folder. After setup, it runs in the background, saving you time every day.
How Automatic Saving with Power Automate Works
You do not need technical skills to set this up. Power Automate offers ready-made templates that guide you step by step.
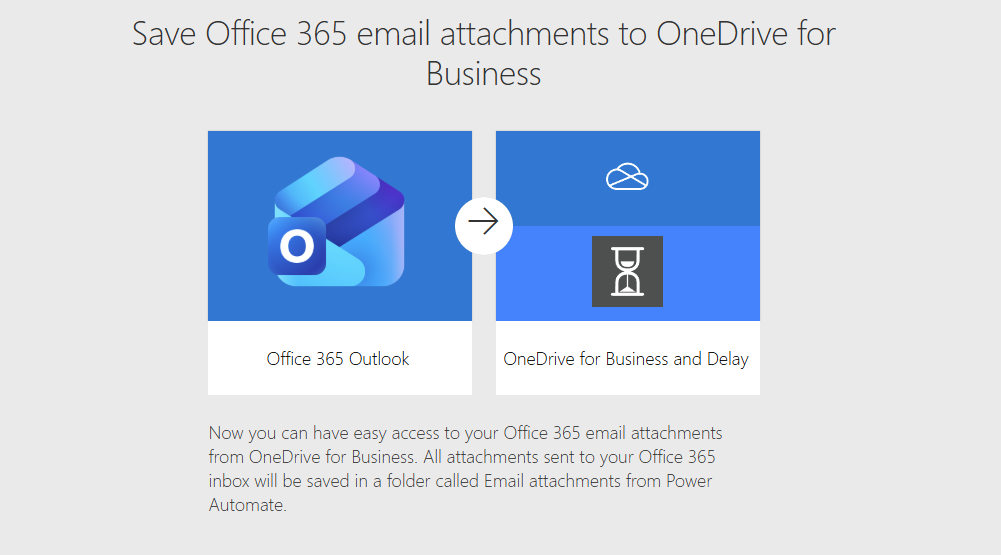
The idea is simple. When an email with an attachment arrives in Microsoft Outlook, Power Automate detects it and saves the attachment directly to a folder you choose in OneDrive. You can also set it to work only for specific emails, such as those from a specific sender or those containing certain keywords.
Once you turn it on, the process runs on its own. You do not have to click save, drag files, or rename anything unless you want to. The system takes care of it for you, every time.
Most people set this up once and then forget about it, which is the goal. Good automation works in the background, making your day easier.
Step 1: Open Power Automate
Go to Power Automate in your browser and sign in with your Microsoft work account. If you use Outlook and OneDrive, you already have access.
Step 2: Choose a ready-made template
On the home screen, select Templates.
You can search for a template like Save Outlook attachments to OneDrive.
Templates already include the logic for you, so you do not need to build anything from scratch.
Step 3: Connect your apps
Power Automate will ask you to connect:
- Microsoft Outlook
- OneDrive
This step allows the automation to read incoming emails and save files on your behalf. Just click Connect and confirm.
Step 4: Choose where files should be saved
Select or create a folder in OneDrive where all attachments should go.
For example:
- Invoices
- Project files
- Reports from clients
Choosing one clear folder keeps everything easy to find later.
Step 5: Add simple rules if needed
You can keep it simple or add small filters such as:
- Only save attachments from a specific sender
- Only save emails with attachments
- Only save emails with certain words in the subject
These options help prevent clutter and keep the folder clean.
Step 6: Turn it on and forget about it
Click Save and turn the flow on.
From this moment on, every matching email attachment saves itself automatically. You do not need to click anything. It just works in the background.