How to Set up Office 365 on an iPhone or iPad?
We often have clients asking how to set up Office 365 on an iPhone or iPad, so we wanted to create a guide that would show you step by step the easiest way to do this.
Screenshots were originally taken on an IOs 7 device but the steps should still be similar for IOs 8 and 6.
- Open Settings
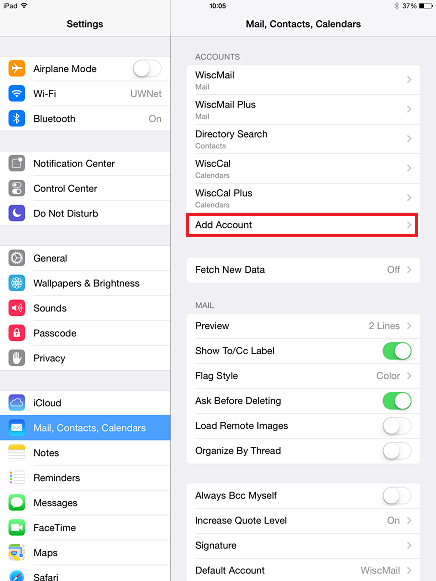
- Select Mail – Contacts – Calendars, then select Add Account near the top right-hand-column.
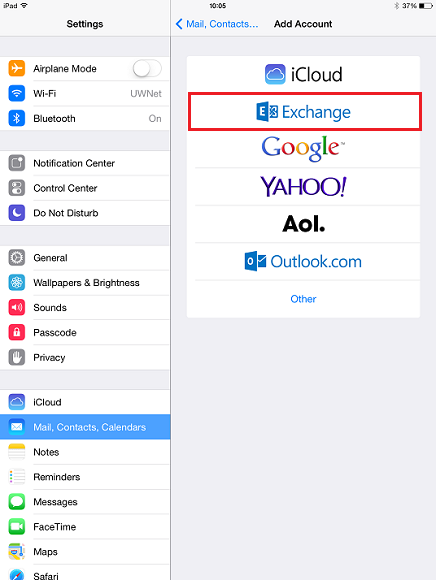
- Select Exchange
- On the account setup screen, enter the following for each field
Email: –
- Service Account: Enter the primary address of your Service account which will take one of the following forms: name@domain.com
- Password: Enter the password for the account being configured.
- Description: Give the account any name you’d like, such as Office 365.
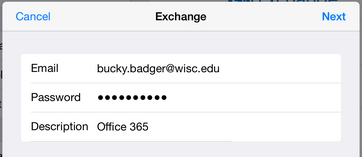
- Select Next.
- Enter the following information (Email and Description should have auto-filled with the previously supplied information):
- Server: outlook.office365.com
- Username:
- Service Account: Enter name_domain@.com
- Password: Enter the password for your account being configured
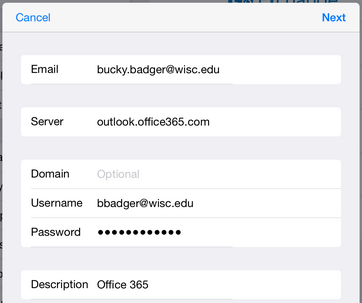
- Click Done/Next
- You will then be directed to the enabled account applications page now. Select what you would like enabled.
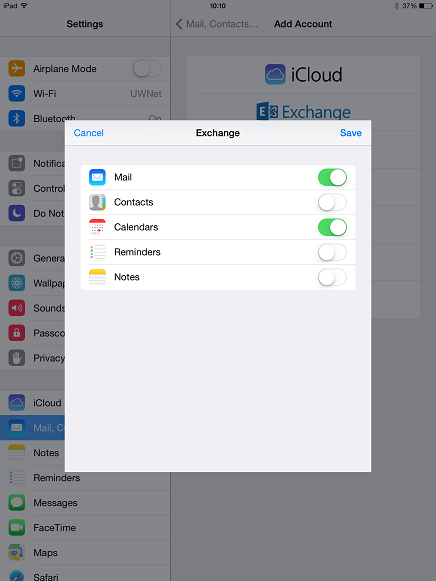
- Select Save
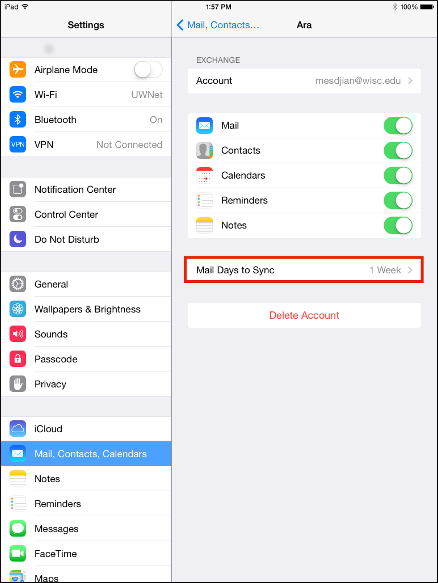
- Select the new account from your list of accounts. This will be listed as the description you chose for it.
- Select Mail Days to Sync and set it to No Limit if you would like all of the mail in your inbox to be synced to your device.

Now your setup is complete and your email and calendar information will all be available within the appropriate apps.
Lucidica provides London based IT support for businesses

